
How To Hang A Gallery Wall In 4 easy Steps
A gallery art wall is the most wonderful way to express your personal style. After all, it is your collection curated and carefully collected with all that you love. We enjoy helping our clients master their collections for the best arrangement. Whether it is a collection of photos, a subject of prints, or original paintings from artisans around the world, there’s a strategy. Let’s think outside the box while bringing the art collection together to share your story.
Steps & Tips
Step 1
Consider your location. Hallways are a terrific location and easy to view your collection up-close. Though, on the main floor, be careful not to let the gallery wall collection fight with a focal point such as a fireplace, or a beautiful open window view of nature.
Step 2
Measure the outside perimeter of the vertical space that you would like to fill. We will usually mark the corners and the center with blue painter's tape.
Step 3
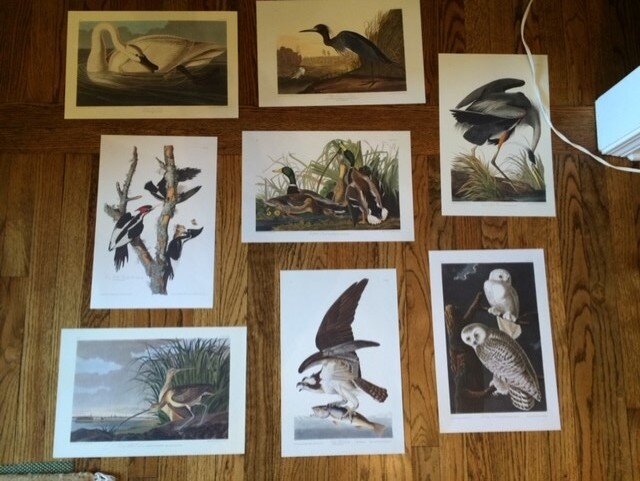
Next, lay the images or mix media on the floor. You can also make templates in newspaper or brown paper instead of using the actual pieces. This a great to help you visualize and play a bit with the different layout options.
Residential Project.
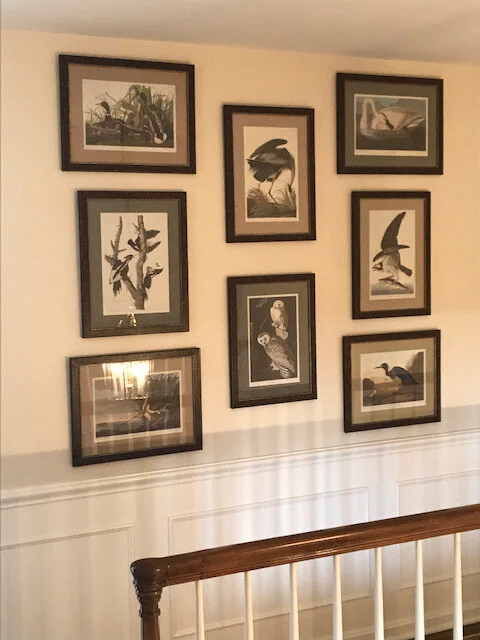
In this residential project, notice the frames are all the same yet we used different mats based on what was best for each image.
In the residential project, our color guides in the overall interiors were considered in our gallery art wall too.
Step 4
Place your anchor, heaviest or largest piece, in the center at eye level (about 5.3”-6.0" high). Then, build out from there. Use multiple sizes mixing vertical and horizontal positions. Make sure to have accurate spacing. Depending on your overall space available, it’s usually 2.5”-4.0” apart.

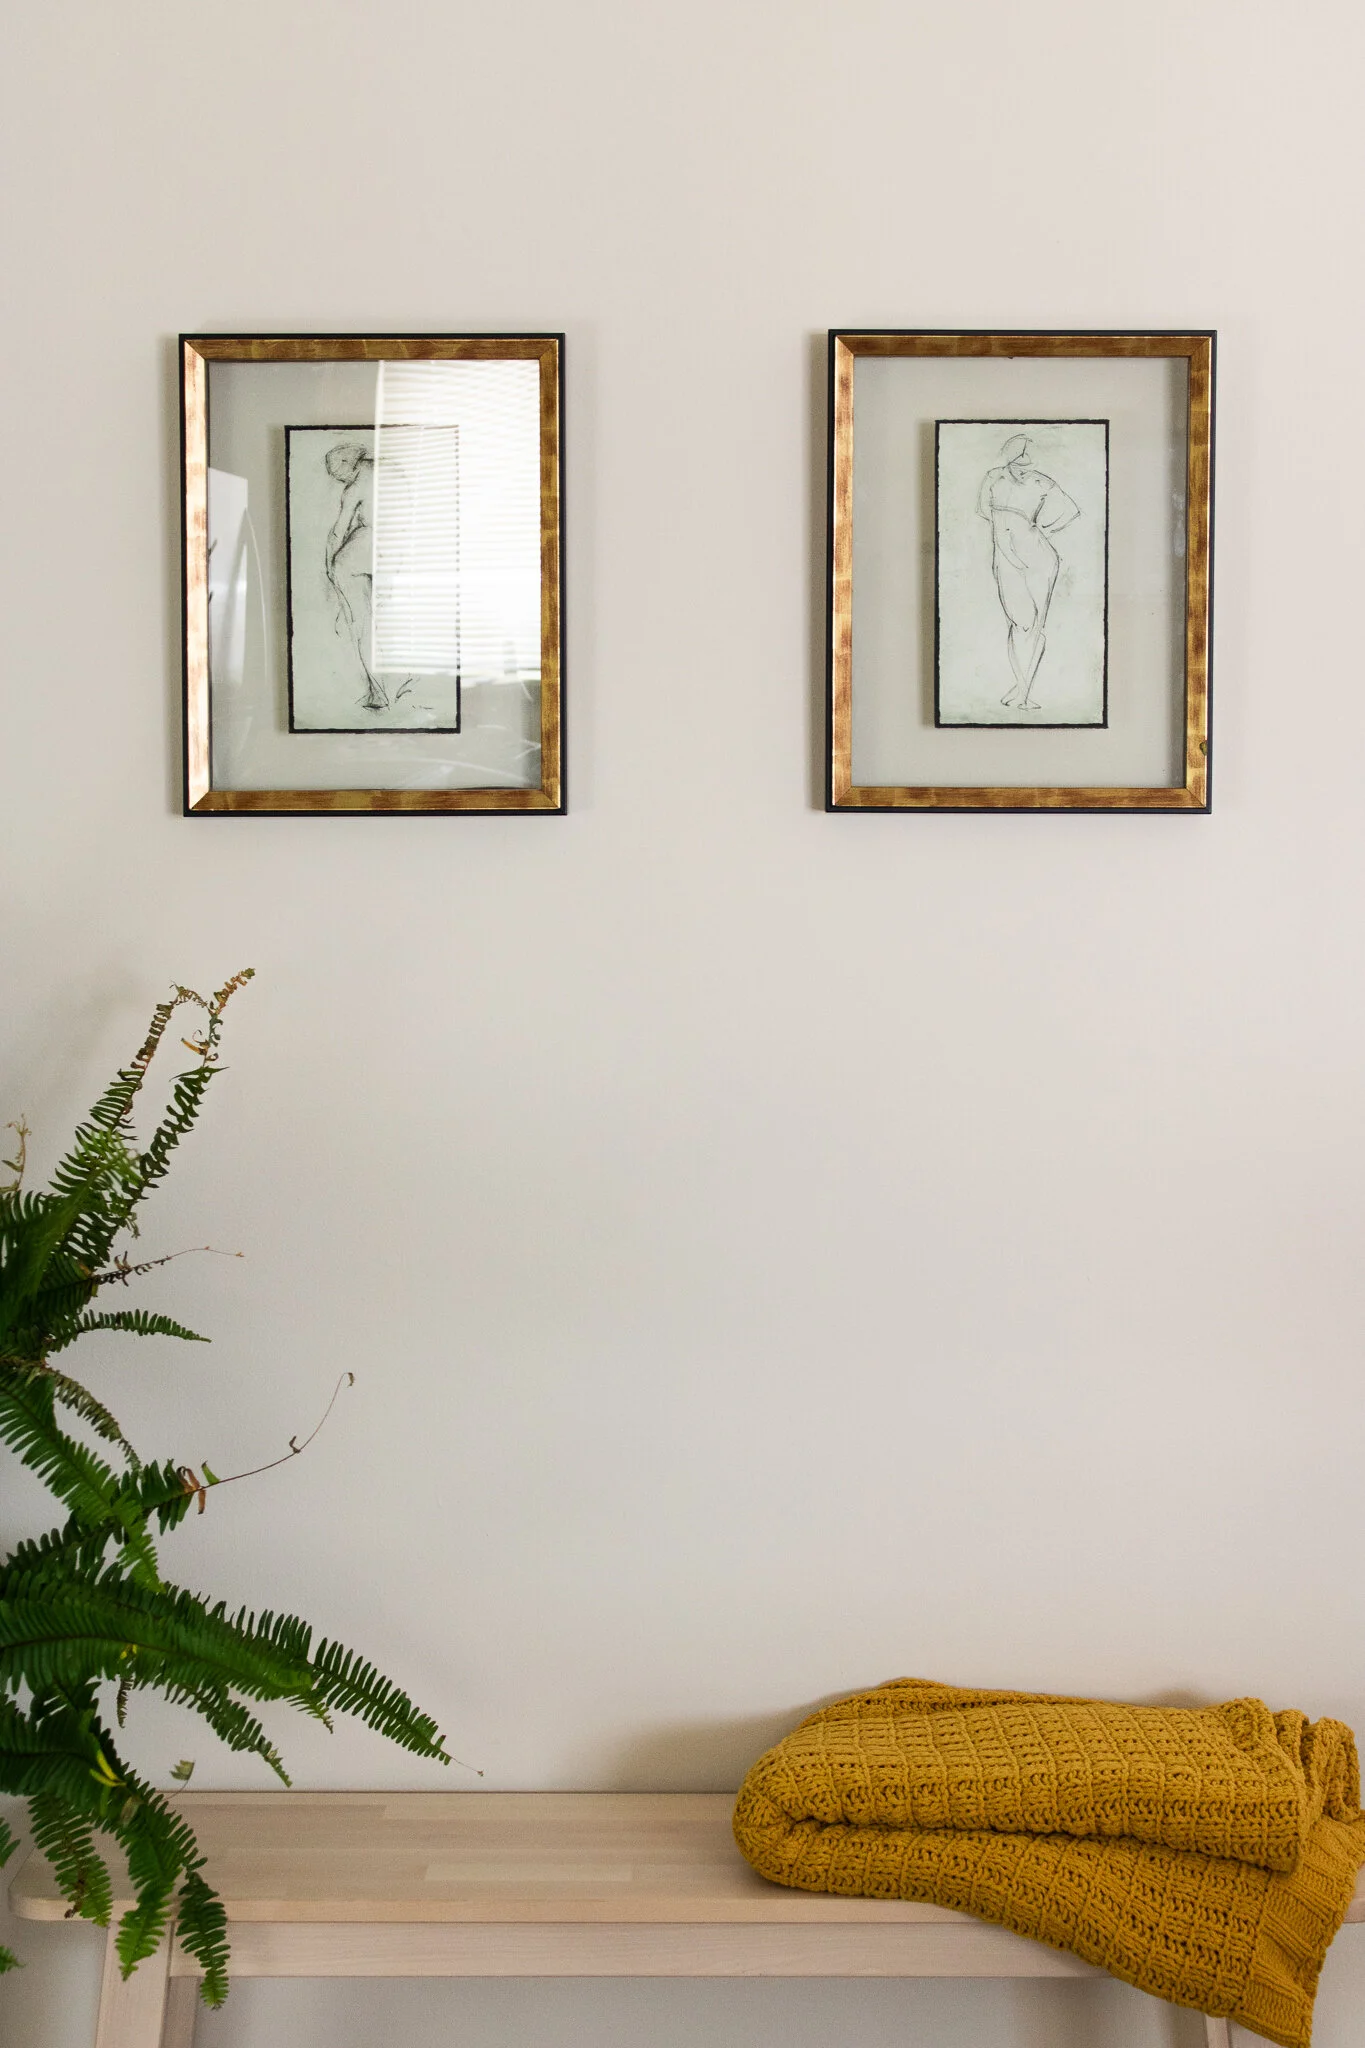
Historical Chagrin Loft Project: an example of mixing different media elements such as original art with a custom mirror and refurbished artifacts from a local factory.
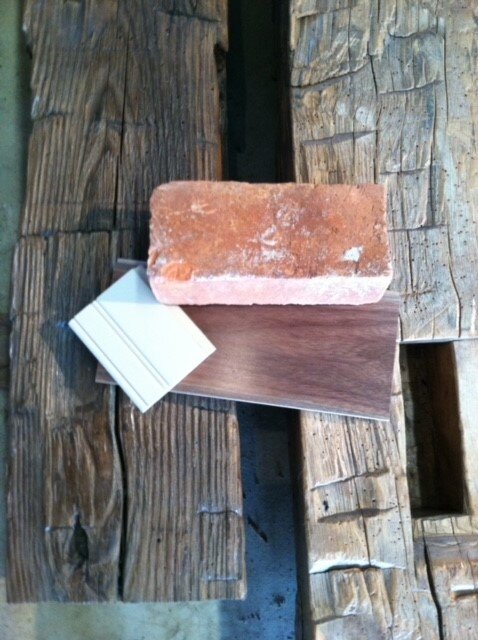
Historical Chagrin Loft Project: these historical elements also inspired the actual selection of the original art work.
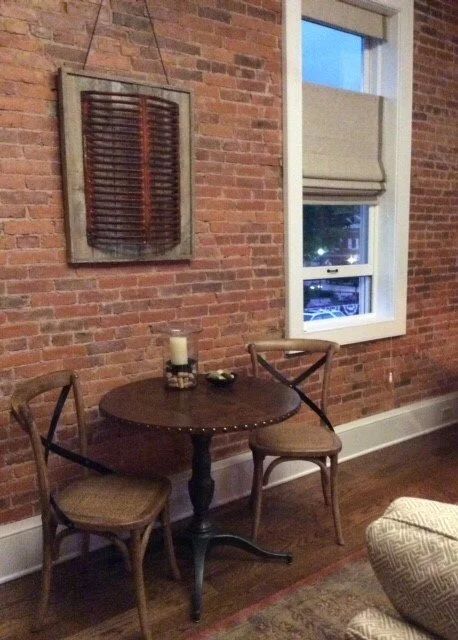
Historical Chagrin Loft Project: another framed artifact supports the adjacent gallery art wall.
Tips
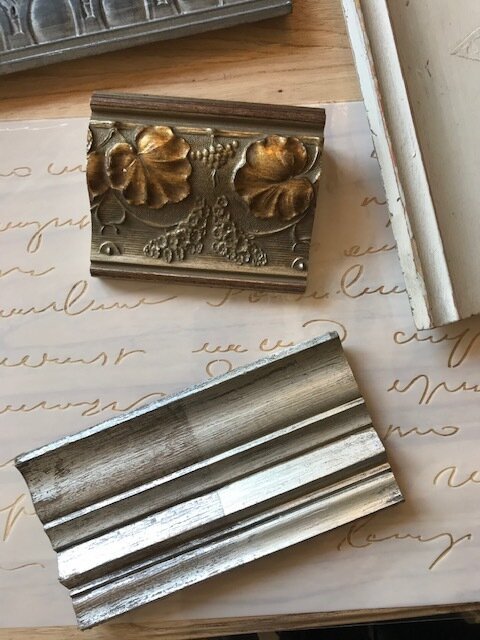
1. For framing, there are many options. You could choose all black metal or wood, such as maple. It's okay if there are different widths of framing or wood. If it's collected over the years it can hard to keep them the same. For example, one collection we did was a mixture of woods but they all had a little gold detail, so it worked well in pulling them all together.
2. Don’t forget to think about the lighting. Either use museum track lighting, directional recessed lighting, wall sconces, etc. Today we love all the options and styles of library lights.
3. Remember color sometimes can be the commonality of the gallery art wall. Meaning one particular color is apart of every image or object. The commonality can also be the subject, such as travel photos, or that they are all abstract modern art pieces. The possibilities are endless!
An example from our shoppe of pieces that you could use together to create a wall gallery!


Check out our newest artwork to add to your collection today!


